
Setting Up a Beach Cabana: A Simple Guide to Stress-Free Shade
Setting up a beach cabana might sound like a chore, but with the right approach, it’s the first step you’ll take towards claiming your own slice of seaside luxury.
Whether you are chasing a breezy afternoon nap or the perfect shaded lounge spot, the setup matters as much as the view. And let’s be honest:
There’s nothing relaxing about a cabana that won’t stay upright.
In this guide, you’ll learn exactly how to make your cabana stable and totally wind-ready, without wasting precious beach time.
So, if you’re aiming for easy shade with zero wobble, you’re in the right place.
Pick the Perfect Spot for Your Beach Cabana

Before setting up your cabana, take a few moments to scout the ideal location, because where you place it can make or break your beach day.
Start with the sand. Choose a level, firm surface that isn’t too soft or uneven. Avoid areas with dips, shells, or wet patches, which can affect your cabana’s stability.
Next, think about the distance from the water. Aim to set up at least 10 to 15 feet from the shoreline. This gives you great ocean views without risking exposure to high tide or spray.
Sun and wind are major factors, too. Position your cabana so it blocks the harsh midday sun, preferably with the open sides facing the breeze for natural ventilation. And if you can, use natural windbreaks, like dunes or driftwood, to reduce gusts without ruining the view.
Spacing is another thing to take into account. Give yourself at least 50 feet of breathing room from other groups for a more relaxing, private setup.
Lastly, always check for local beach rules about shade structures. Some beaches restrict where and how they can be used.
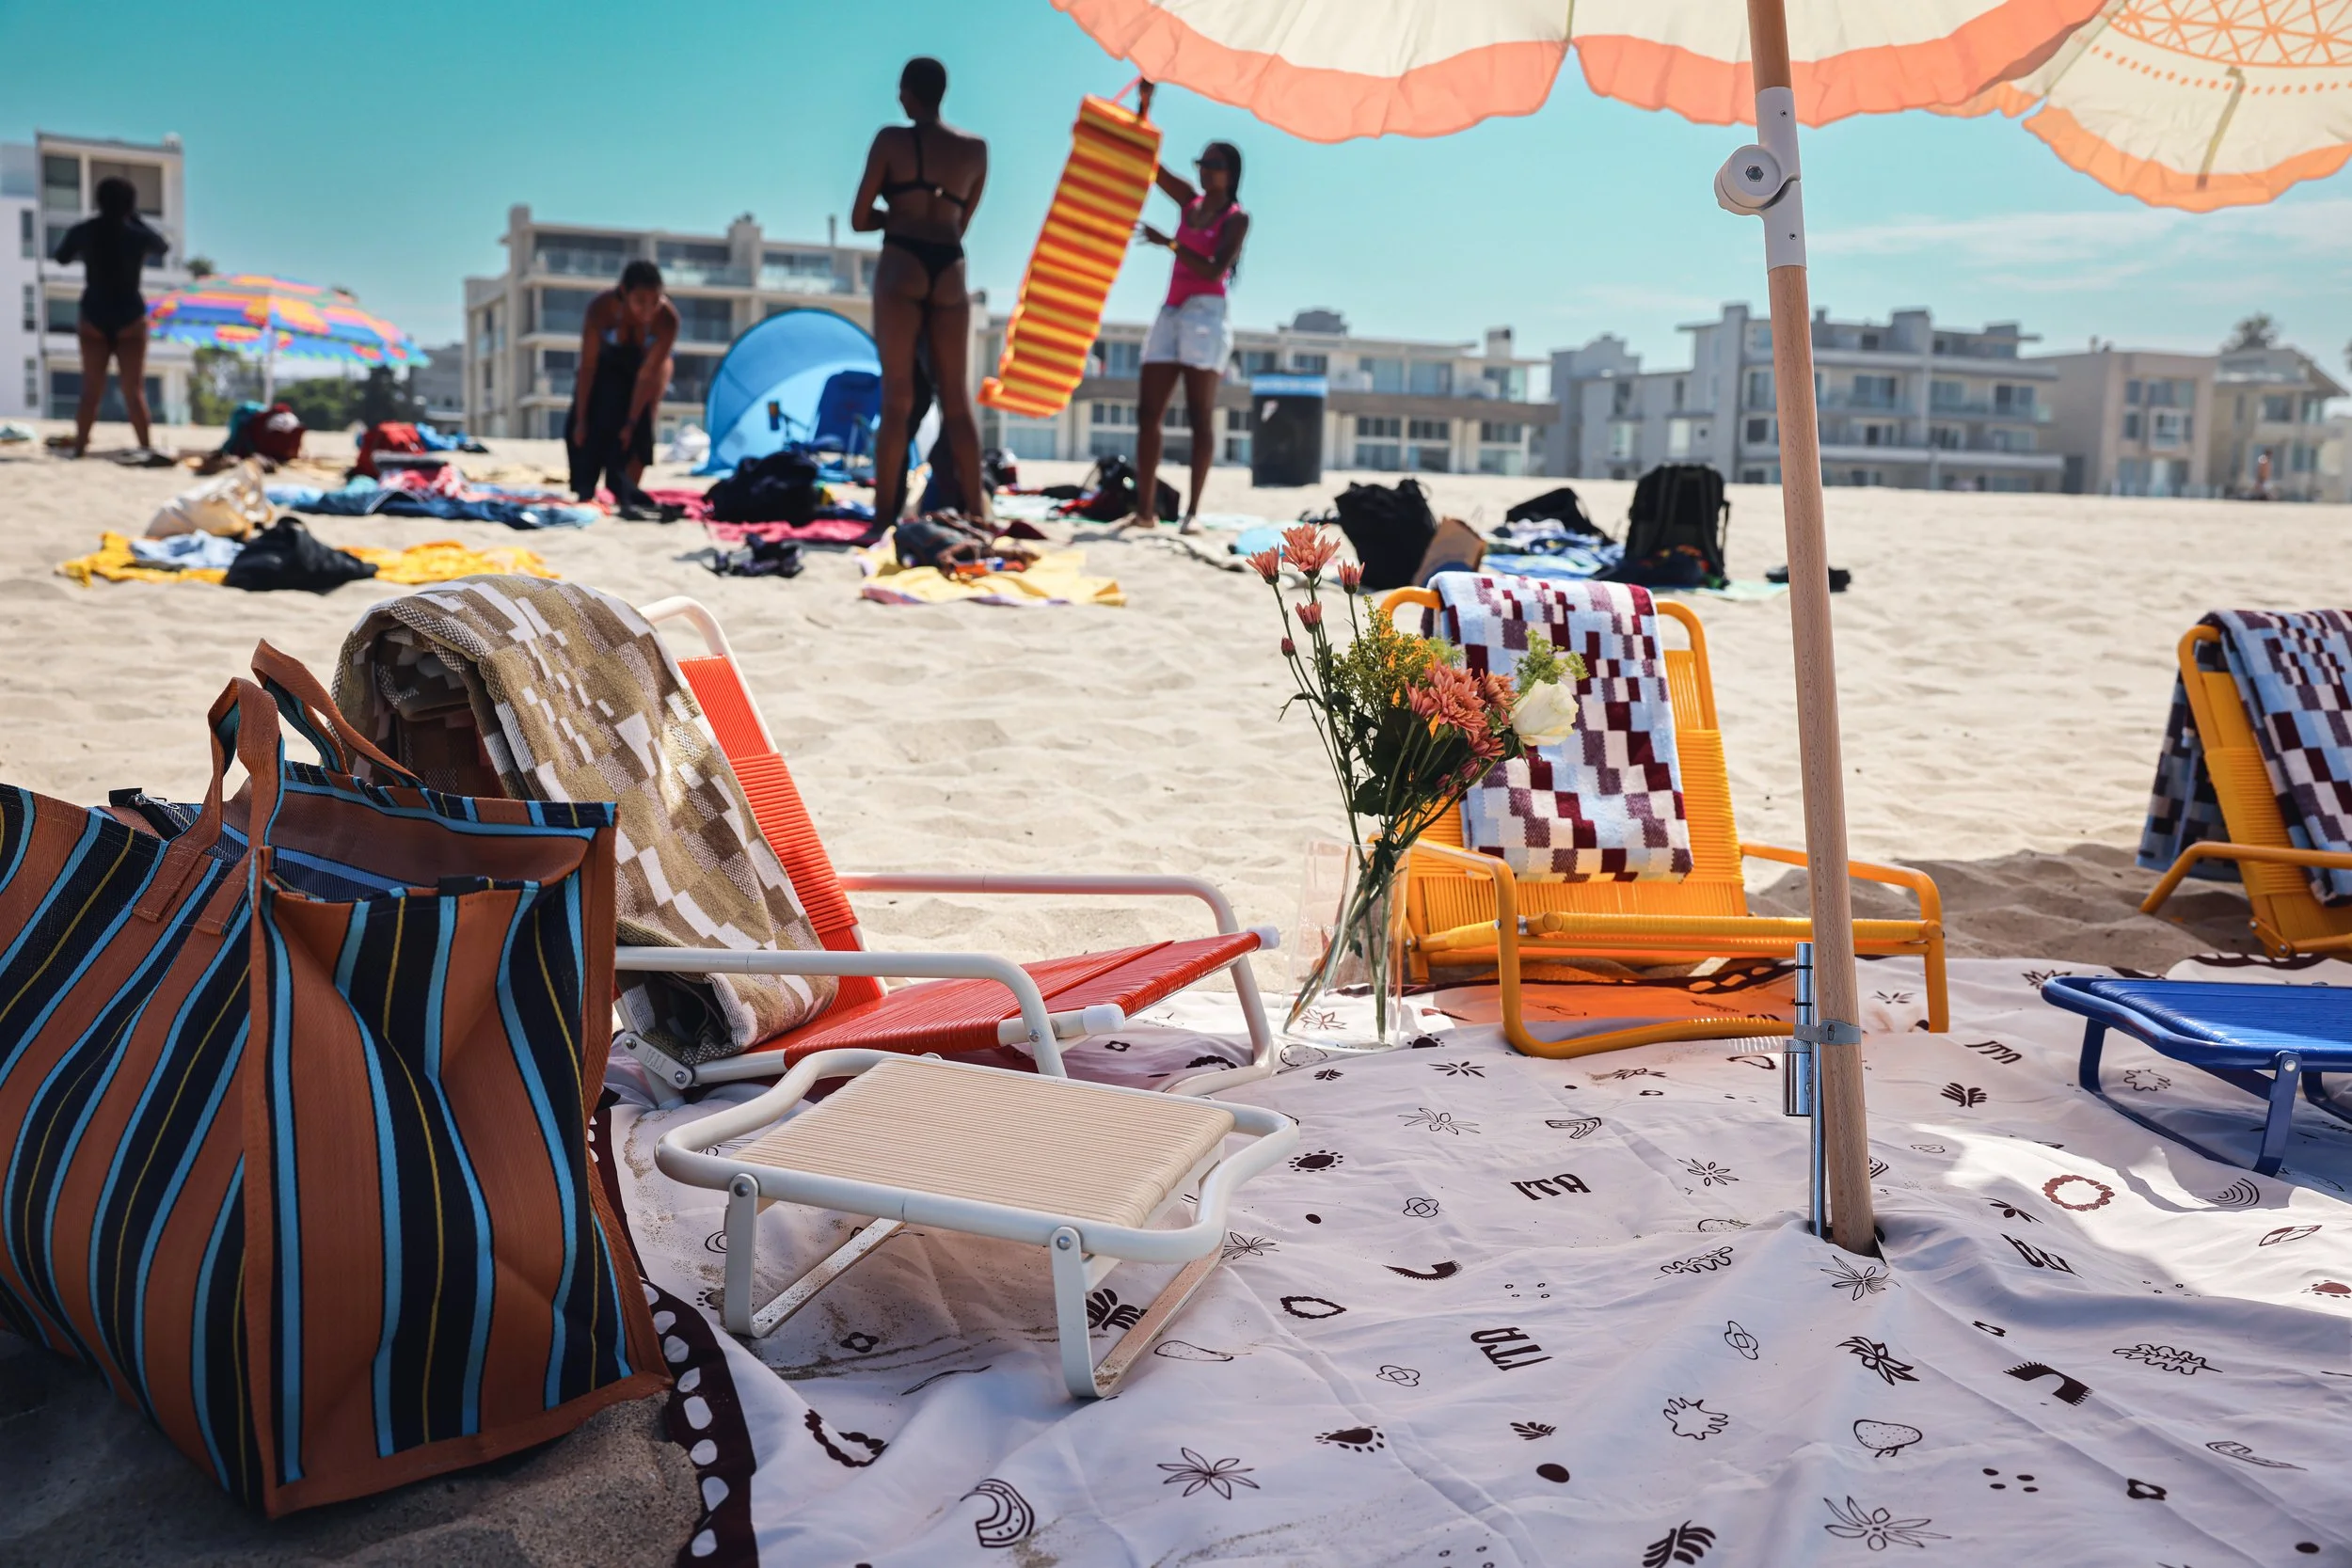
With ITA Leisure, every detail of your beach setup invites effortless leisure. Whether you're lounging under a cabana or stretching out in the sun, our thoughtfully designed outdoor chairs and beach towels help turn any spot into your own slice of the shoreline.
Clear and Prep the Sand for a Solid Start

Once you’ve picked the perfect spot, take a few minutes to prep the area. This quick step can ensure that your cabana stays stable all day long.
Start by clearing any debris. Remove sharp shells, rocks, sticks, or litter that may interfere with the setup or tear the fabric. Run your hand over the area to check if there’s anything buried beneath the surface, like driftwood or fishing wire.
Next, flatten and level the sand. You can use your feet or a small shovel to create an even and compact base, especially where the center or anchor poles will go. If the sand feels too loose or dry, lightly dampen it with seawater to help improve grip and reduce shifting.
Make sure you are not setting up near protected wildlife zones. Stay at least 10 feet away from sea turtle nests and 30 feet from public access paths. Some beaches have specific rules you will want to follow to avoid fines or forced relocation.
A bit of prep here makes everything that follows smoother and, more importantly, sets the stage for a day of beachside comfort.
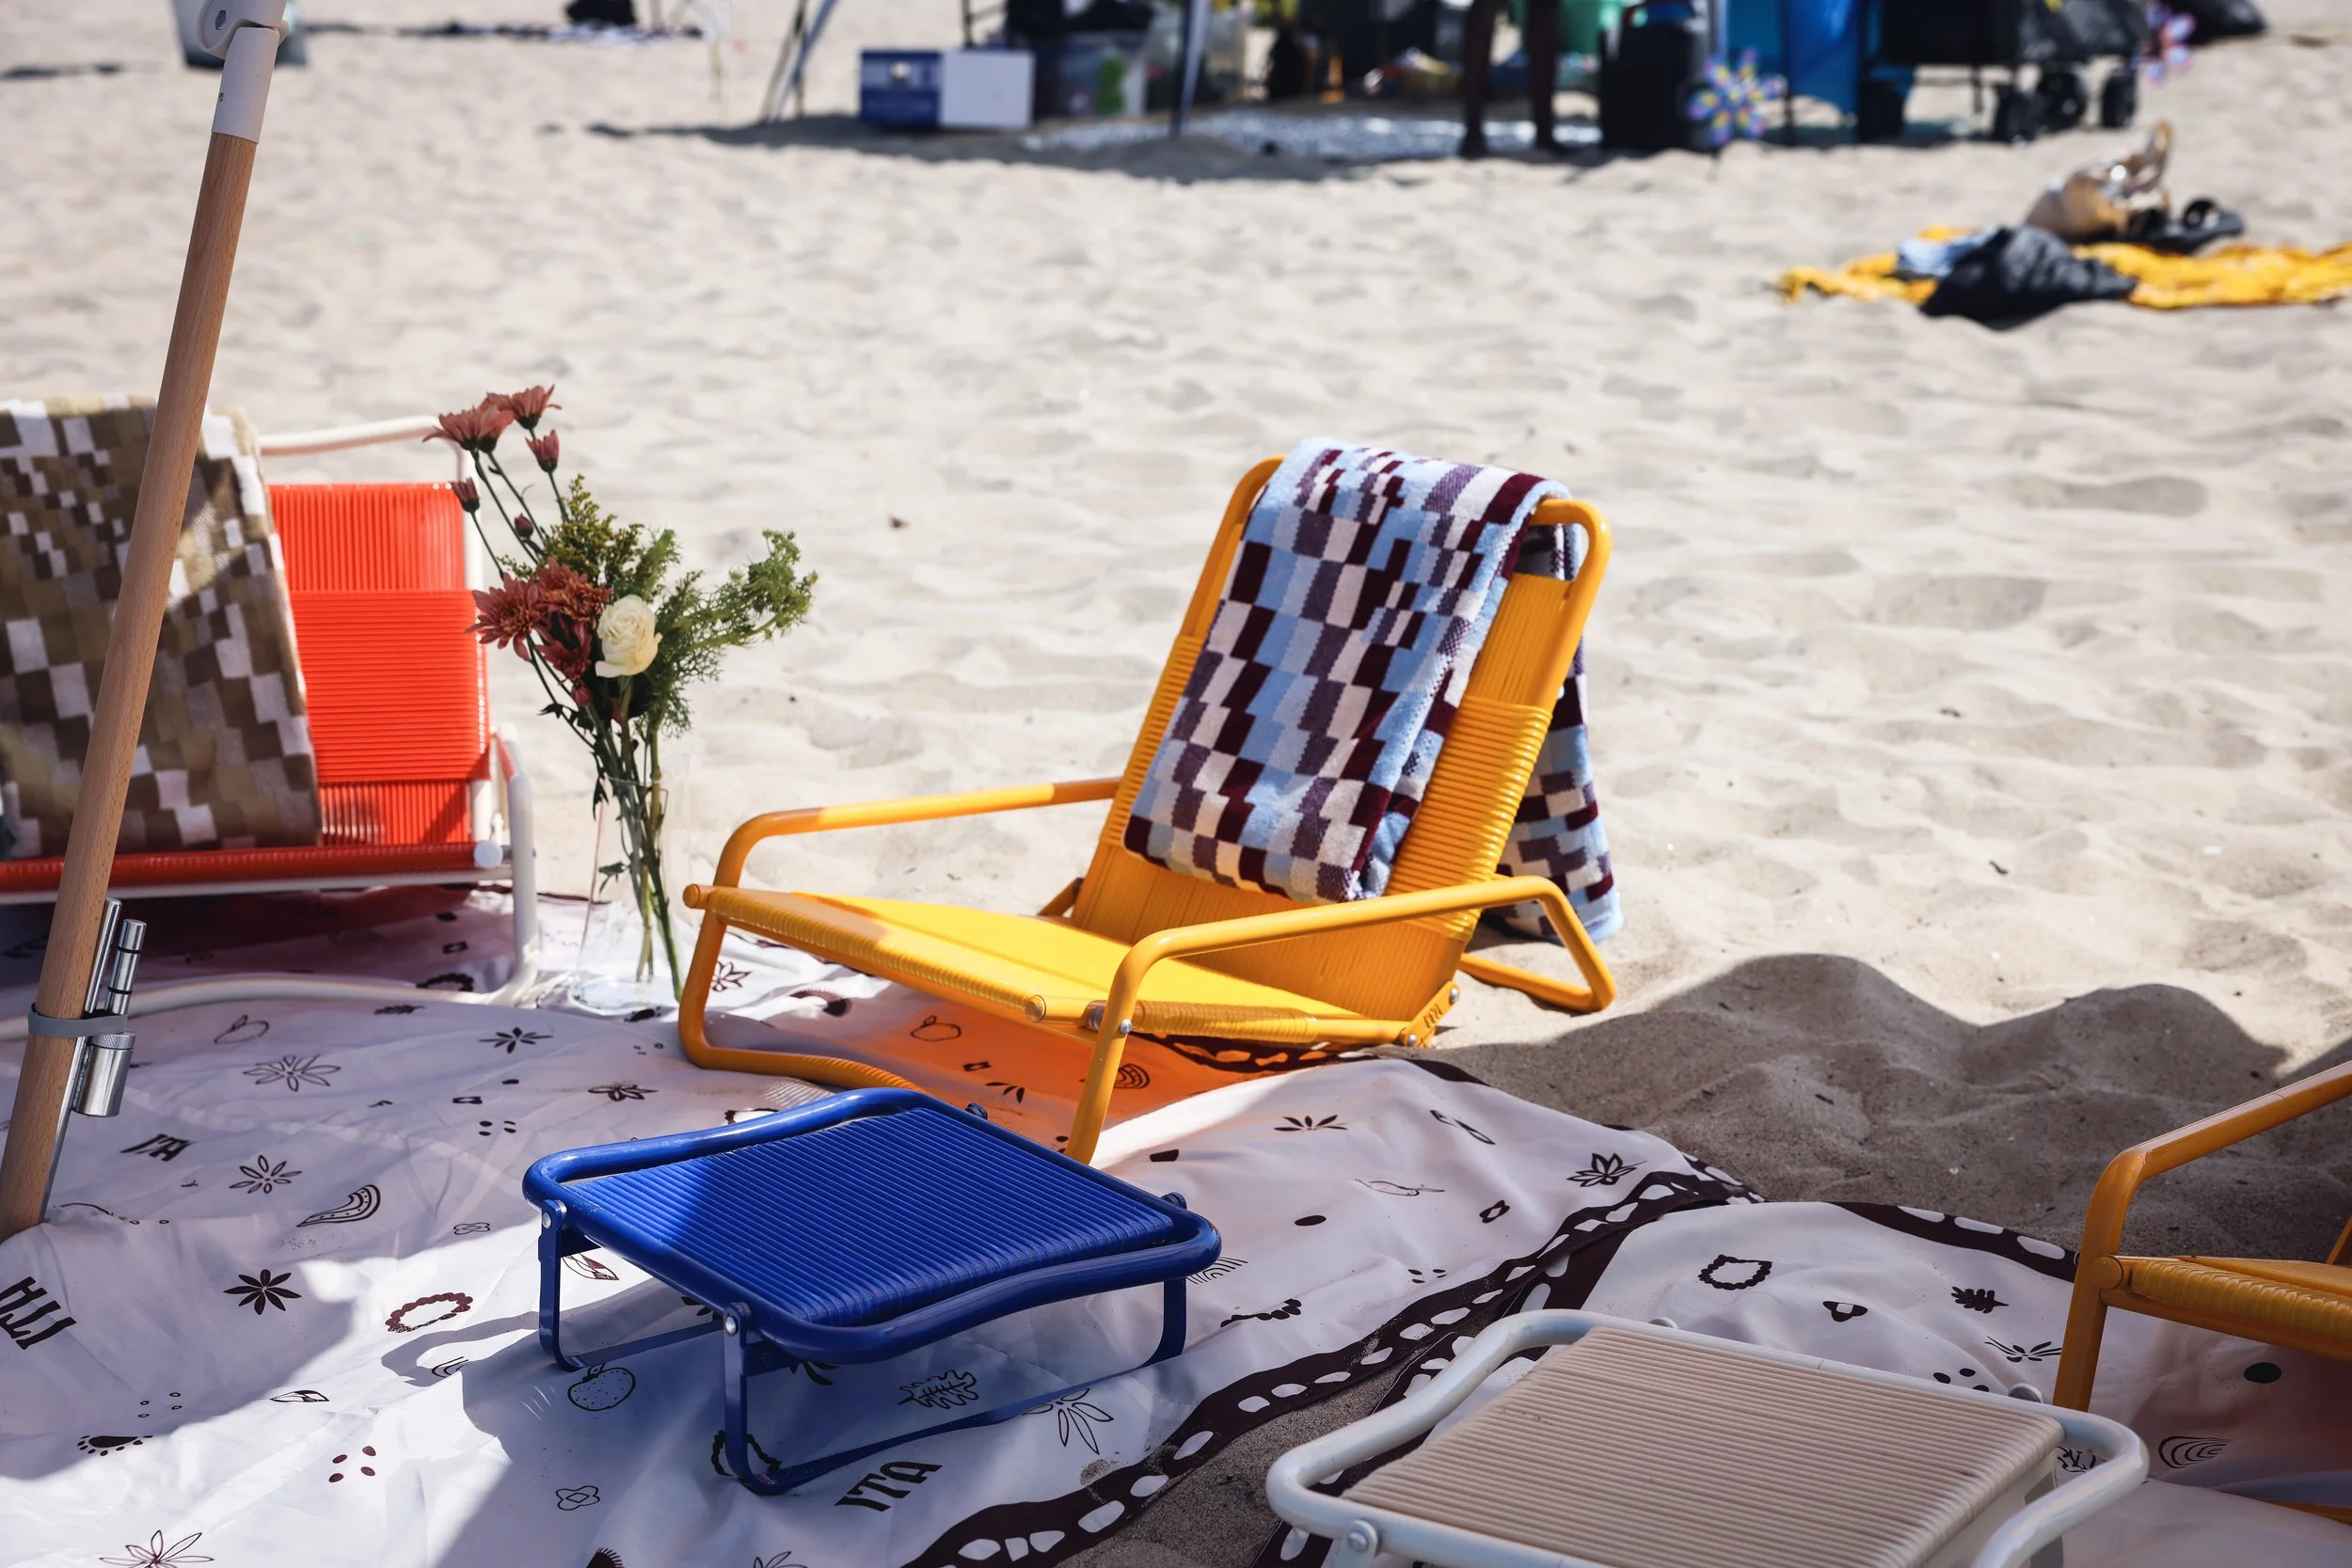
Your cabana’s location sets the tone. Now, finish that scene with pieces that deliver comfort and cohesion. ITA Leisure’s folding chairs are designed to travel light and look great, whether you’re set up by the dunes or right by the surf.
Anchor the Center Poles for a Stable Foundation
With your setup area leveled and ready, it’s time to install the center pole. This is what gives your cabana structure and height, so it needs to be anchored correctly from the start.
Insert the sand spike vertically into the sand until it reaches the recommended "sand line," usually marked on the spike or in the manual. Going deeper could create slack in the canopy later.
Make sure the pole is perfectly vertical. A slight lean can throw off your frame and make the whole cabana feel unstable. If your model has a two-part center pole, stack and secure both pieces firmly.
For added stability, angle one corner of the cabana toward the ocean to help it resist wind gusts. Surround the base with extra sand and press it down firmly, especially in soft or powdery sand. You want the pole to feel solid with no wiggle.
This step literally sets the foundation, so take the time to get it right before moving on to frame assembly.
Assemble the Frame and Expand the Canopy

With your center pole anchored and the ground prepped, it’s time to bring the cabana to life by assembling the frame and extending the canopy.
Start by laying out all the components, including telescoping poles, connectors, and canopy arms, on the sand, so you can identify each piece quickly using the parts diagram. Unless your canopy is brand new, now would also be a good time to inspect it for wear or damage before you begin.
Connect the frame: Slide and lock each telescoping pole into place; listen for a “click” that marks a proper, secure fit. Thread poles through the canopy sleeves (if your model has them), and align corner brackets as directed. Proper alignment will keep the structure balanced later. If your frame uses a scissor-style mechanism, expand it partially first to create a stable working area.
Expand the canopy arms: Unfold each arm slowly, one at a time, starting on the windward side. Prioritizing this side helps stabilize the structure if the breeze picks up. Extend the arms evenly to avoid twisting or jamming, and make sure they’re locked into place before continuing.
Adjust height and tension: Next, you can raise the frame to a desired height. Loosen each pole’s adjustment handle, extend it gradually, then tighten once the canopy is level and taut. Make sure to adjust all legs evenly to maintain a balanced roofline.
Once standing, check the tension across the fabric. If you notice any sagging, try gently pulling the arms outward or repositioning the sand pockets for more stretch. For soft or uneven sand, you can dig shallow holes under each corner for added grip.
Give it a quick, final wobble-test; that can reveal any instability before you move on. Once the frame feels solid and the canopy is symmetrical, you’re ready for anchoring.
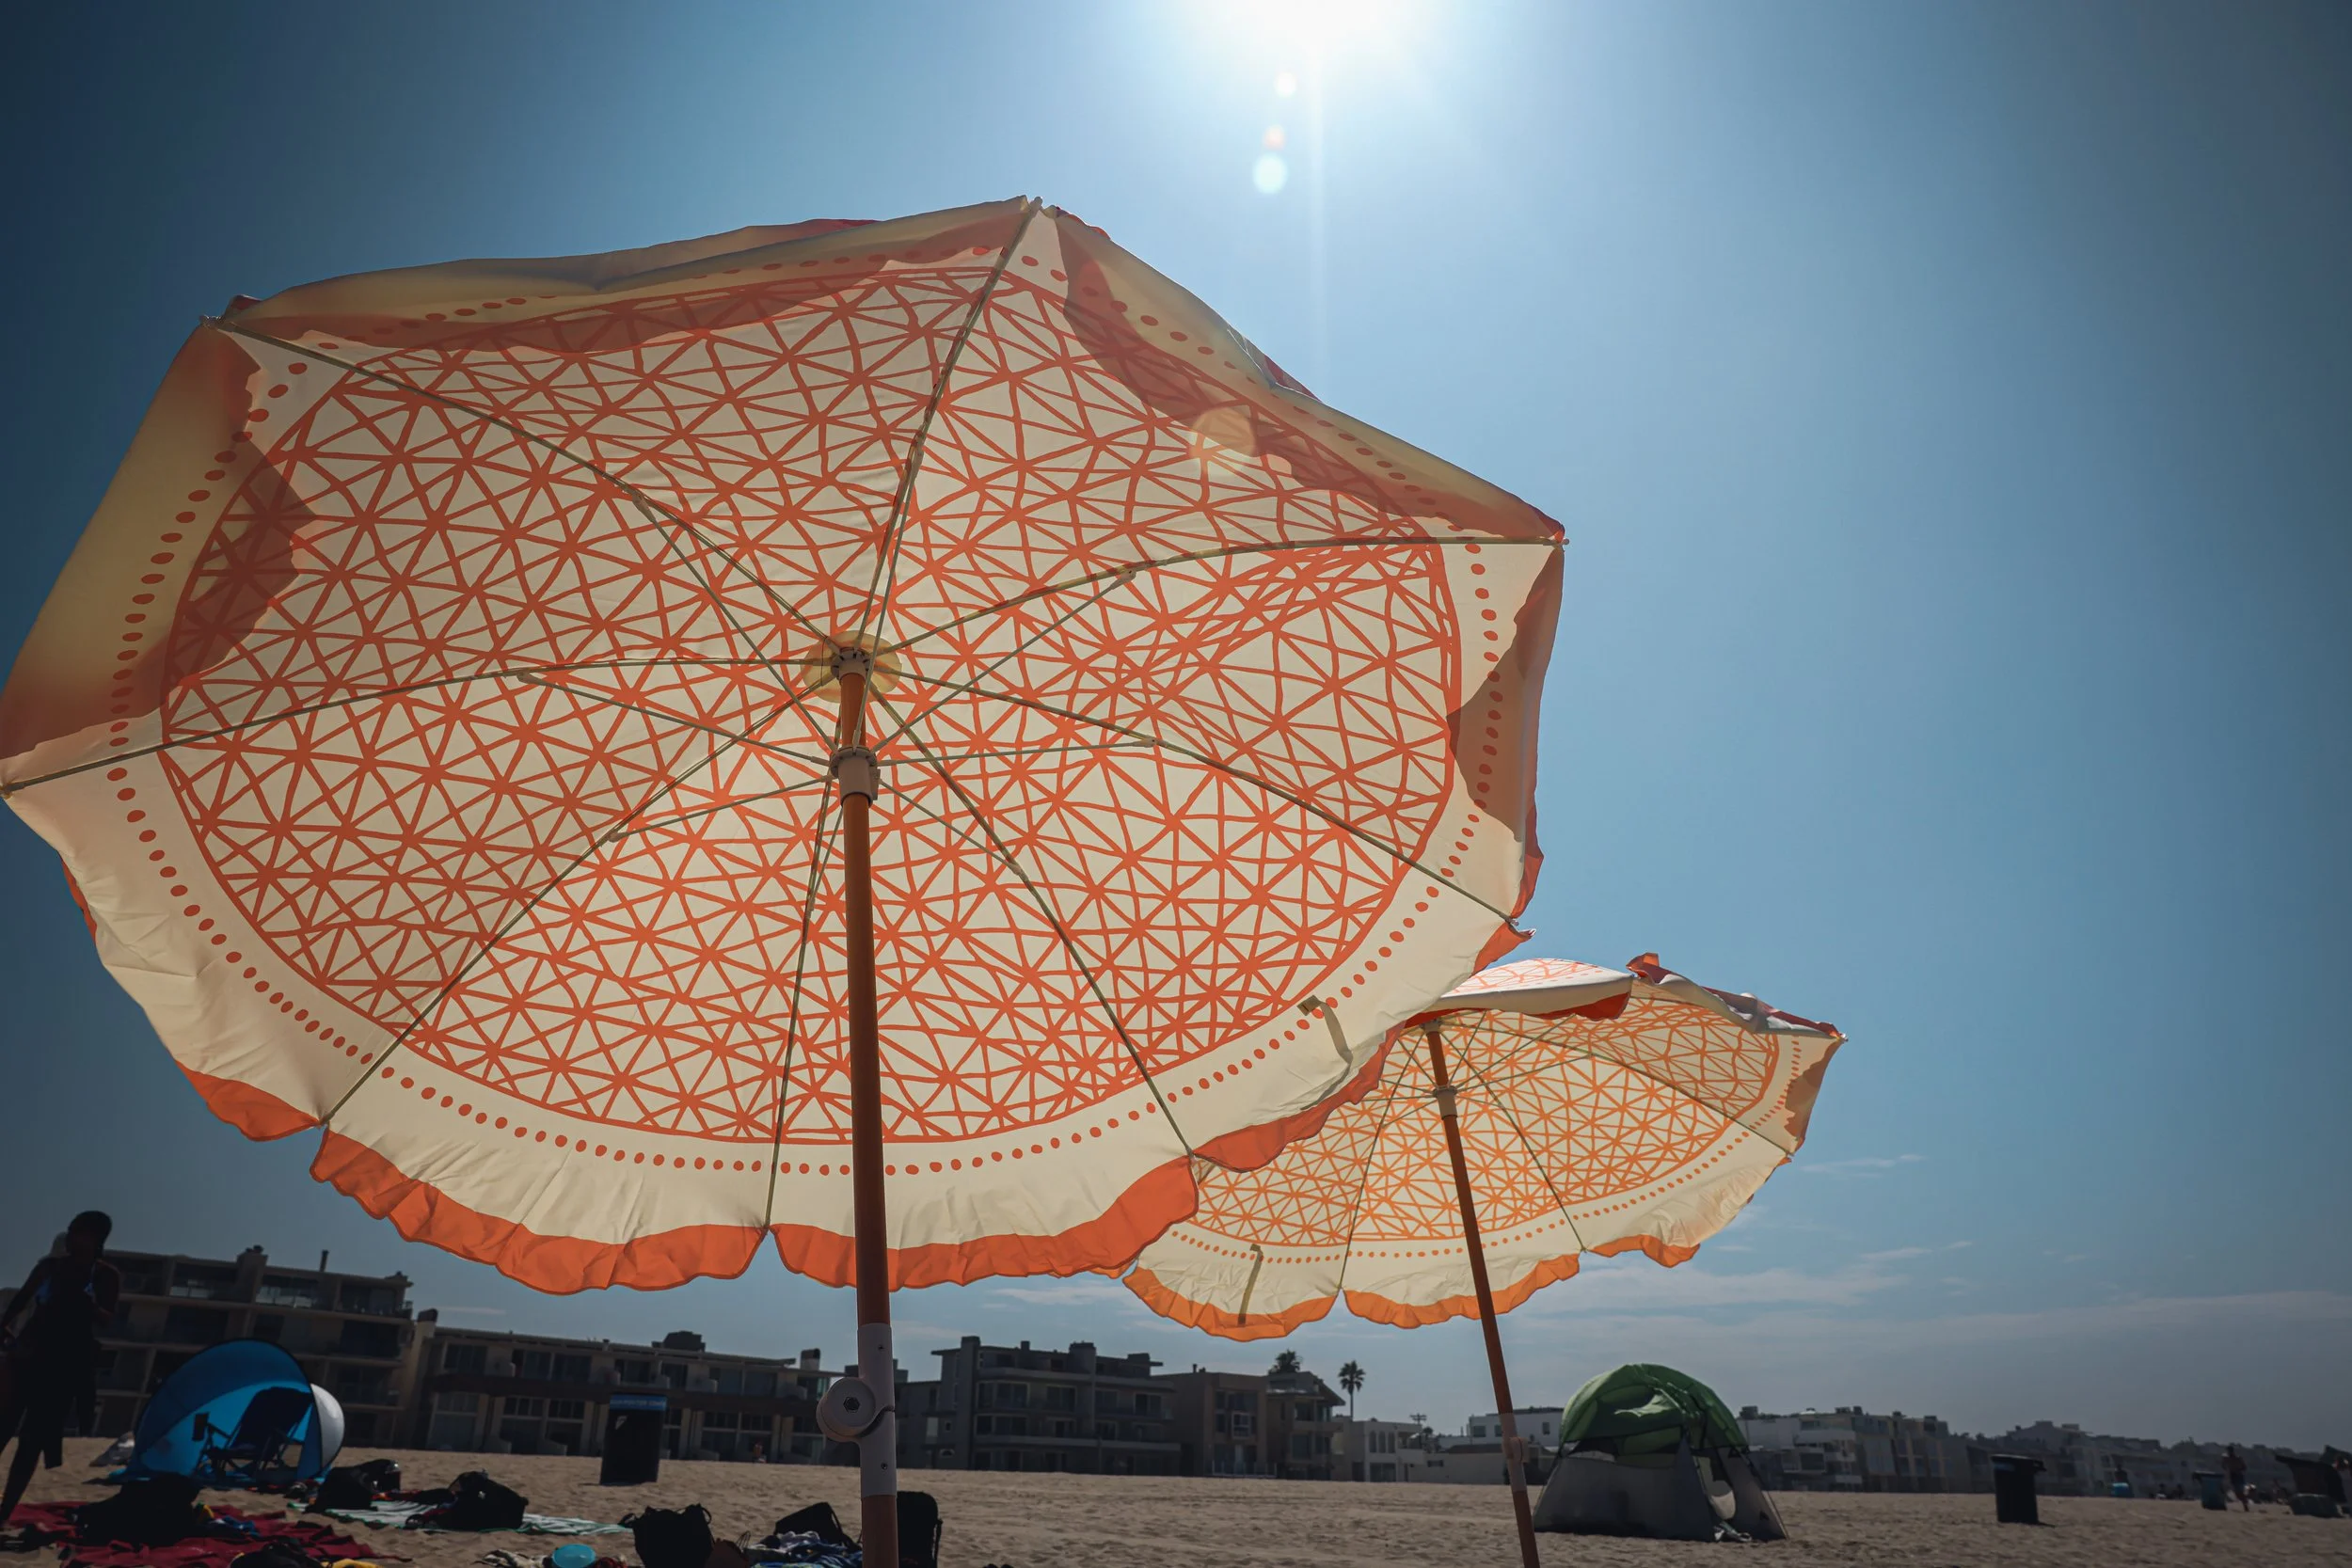
Cabanas are great, but for quick shade with less setup, ITA’s Beach Umbrella is the go-to favorite. Built for coastal wind and easy anchoring, they provide flexible, reliable coverage wherever you land. If you’re after simplicity and stunning, Adire-inspired textile design, ITA’s umbrellas are a great option.
Use Sand Pockets and Stakes to Anchor Your Cabana
Once your frame is standing and your canopy is open, it’s time to anchor your cabana securely so it stays put, especially on breezy days. Most beach cabanas use sand pockets, stakes, or a combination of both for stability.
Done right, these methods keep your shade steady and stress-free all day long.
Start by filling the sand pockets. These built-in anchors are designed to hold your cabana down without extra tools.
Use dry, medium to coarse sand for better compaction.
Fill pockets about ¾ full, tamping each layer as you go to eliminate air gaps.
Don’t overfill; leave enough room to close or fold as designed.
Begin with the pockets on the windward side (the side facing the ocean or strongest breeze), then move to the opposite corners for balance.
Slightly angle each pocket outward to increase surface grip and keep tension distributed across the canopy.
For extra hold, dampen the top few inches of sand if conditions are dry. On especially windy days, you can even top each pocket with a rock for more weight without affecting the pocket’s closure.
Sand pockets usually do the job, but if wind picks up or you’re on looser sand like dunes or dry powder, it’s smart to add stakes as reinforcement.
Choose durable materials like spiral sand stakes, heavy-duty plastic anchors, or short rebars.
Drive each stake into the sand at a 45° angle away from the cabana, ideally perpendicular to the wind.
Bury stakes at least 6–12 inches deep.
For larger cabanas, you can double up on stakes per corner or pair them with sandbags for added security.
Stake placement should mirror your sand pocket positioning. Keep them symmetrical and evenly spaced to avoid lopsided tension if the wind shifts.
With both anchoring methods in place, your cabana is ready to handle winds and the shifting sun. You can relax knowing your setup is solid.
Secure with Guy Lines and Anchors for Extra Wind Protection
Even on calm beach days, wind can shift quickly. Guy lines and anchors are your cabana’s best defense against sudden gusts, especially if you’re spending the whole day by the shore.
Keep in mind that standard tent stakes won’t cut it. Use sand-specific anchors like screw-in auger stakes or “deadman” sandbags, which are filled and buried. These are designed to grip in soft terrain and resist high winds.
Choose thick guy lines designed for sand, like braided nylon or elastic materials; they’re better at resisting abrasion.
Stake down at least four guy lines, one at each corner or mid-point between legs.
Angle each line at 45° from the cabana for balanced tension.
Keep lines taut but not over-tightened; leave a little give for flexibility in wind.
Ocean-facing lines should be slightly tighter to counter onshore breezes.
If your model includes tensioners or pulleys, use them for easier adjustments on the fly.
Use sliding knots like the prusik, bowline, or taut-line hitch for adjustable tension.
Taking 5 to 10 minutes to properly set the guy lines and anchors can mean the difference between chasing
a runaway shade and enjoying worry-free comfort all day long.
Bonus Tip: How to Level Your Cabana on Uneven Sand
Most beaches aren’t perfectly flat. The problem is, even small dips or soft patches can cause one cabana leg to sink or tilt. And the good news? It should only take a few quick adjustments to stabilize the setup on uneven terrain.
Start by checking all legs after your cabana is upright. If one side is slanting:
Dig slightly deeper holes for taller legs sitting on high ground.
Build up a small mound of sand under shorter legs on the low side.
Pack the sand tightly around each base to lock it in place.
Sand pockets can also help balance out uneven weight:
Fill opposite corners first (e.g., front-left and back-right) to help pull the frame evenly.
If a side is still sagging, shift that pocket farther outward to add tension.
Use wet sand to fill pockets when possible; it compacts better and holds longer.
Once the base feels stable, you can check the canopy:
Adjust arm angles or telescoping poles so the fabric sits taut and evenly stretched.
Re-tighten guy lines after balancing; changes in pole position may affect tension.
With a few thoughtful tweaks, your cabana will stay level, stable, and picture-perfect, no matter what the beach throws at it.
Do a Final Stability Check Before You Kick Back
You’ve leveled, anchored, and tensioned, but before you claim your shady retreat, take one last minute to confirm everything’s locked in and wind-ready.
Here’s what to check before settling in:
Inspect All Connection Points: Tug gently at the joints, crossbars, and frame corners, and make sure all bolts, clips, and fasteners are tight. Look for any sagging in canopy fabric; that could signal uneven tension or pole drift.
Confirm Anchor Security: Give each guy line and stake a firm pull. They should feel snug but not overly tight; leave a slight flex to absorb gusts. Also, check if the stakes are actually buried at least 12 inches into the sand.
Scan for Shifting or Lean: Look at your cabana from a few angles and make sure it’s standing up straight and that the legs aren’t sinking unevenly into softer spots. If anything’s off, adjust with a bit of added sand or re-level a pole.
Test for Wind: Before you get too comfy, simulate a light gust by gently pushing against the frame. If anything wobbles or shifts, reinforce that side with tighter guy lines or additional anchors.
A quick, mindful check now means hours of stress-free beach time later, and a cabana that’s as secure as it is stylish.
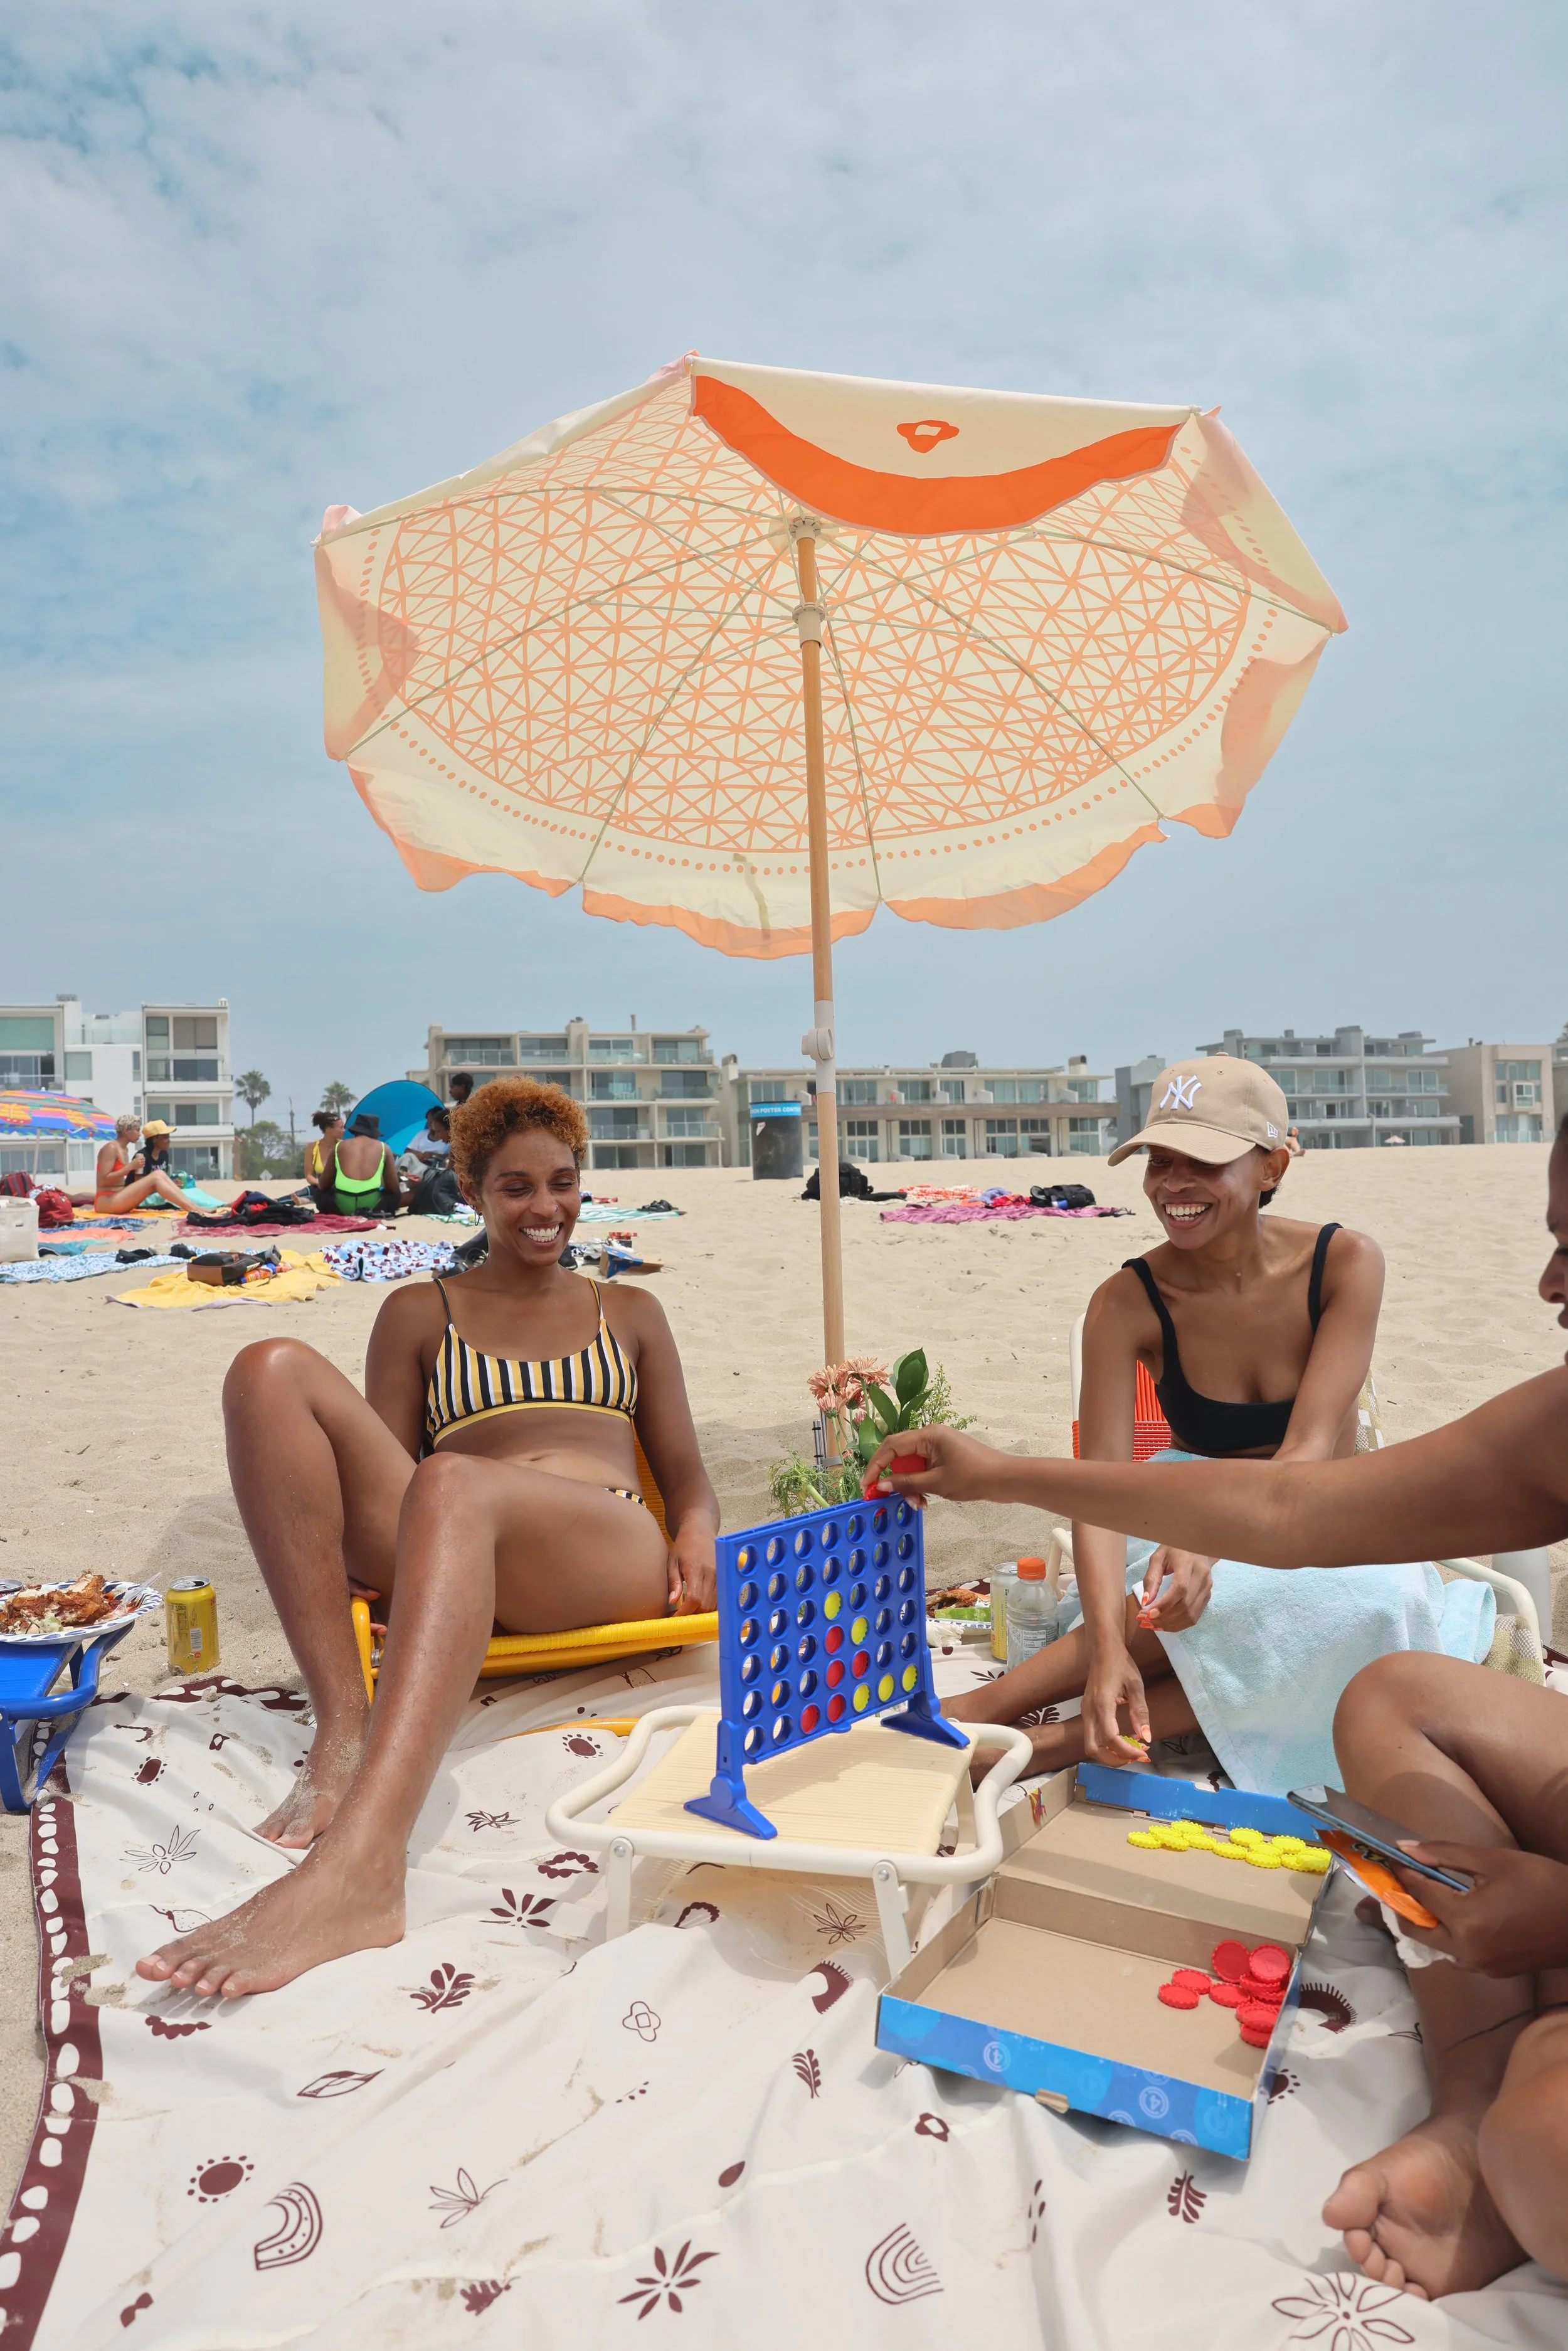
Once your cabana’s locked in, it’s time to settle in. Boost the comfort factor with ITA Leisure’s best-selling beach towels, inspired by Ghana’s Ewe kente cloths and made for softness, absorbency, and quick drying. Or set up a folding table to keep drinks and snacks sand-free.
ITA Leisure has the finishing touches that make a beach setup feel like home.
Make Shade the Best Part of Your Beach Day
A well-set cabana will do more than block the sun. It will define your space, set the tone, and turn a simple beach day into something into something truly relaxing and memorable.
Whether you’re looking for a quiet corner to unwind or a place to gather with friends, the right setup makes all the difference.
At ITA Leisure, we offer shade solutions and outdoor essentials that are as functional as they are beautiful. That way, you can spend less time fussing and more time enjoying.
Browse our collection to find thoughtful, functional pieces that complement your perfect beach setup.